


Supplies:
- butterflies printed on photo paper (4"x6") (PINK & BROWN)
- small scissors
- stickles (Black Diamond & Diamond)
- rhinestones
The first thing I do when I get a new collection is to look for pretty butterflies on the pattern paper. I then scan them, resize/recolor, and arrange different sizes of the same butterfly to fit on one 4"x6" photo paper. I save these to use not only with this particular kit but also in my future projects. I did this part for you already so you can just download the butterflies and print them on your photo paper (links to the files under the supply list above).
So, let's get started with this easy tutorial:

Step 1. Fuzzy cut the butterflies that you wish to use.
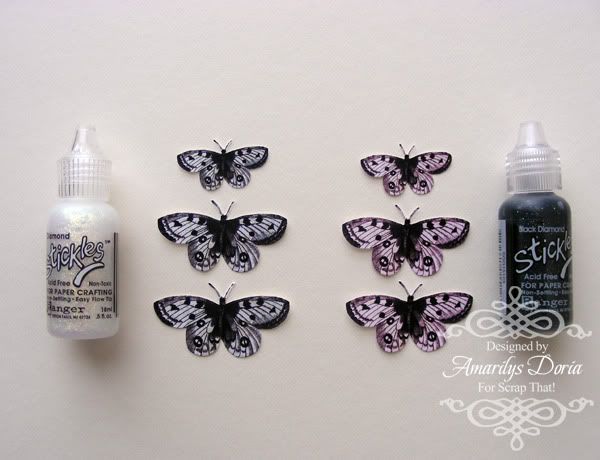
Step 2. Add stickles to your butterflies. I used the Diamond stickles on the white parts of the brown butterflies and Black Diamond Stickles to accent the darker parts of the pink butterflies. I also added stickles to the pink butterflies' bodies.
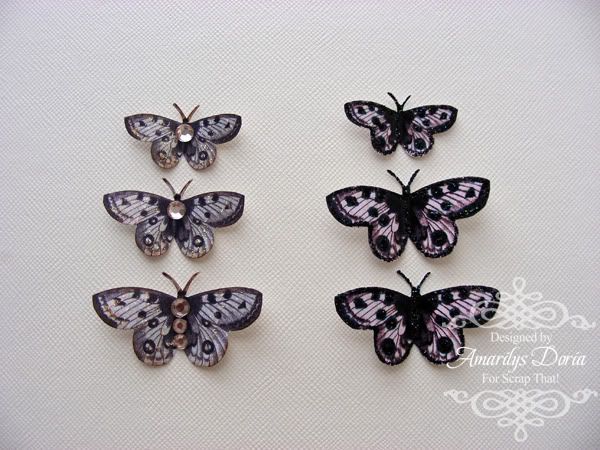
Step 3. After it dries, add rhinestones to the center of the brown butterflies.
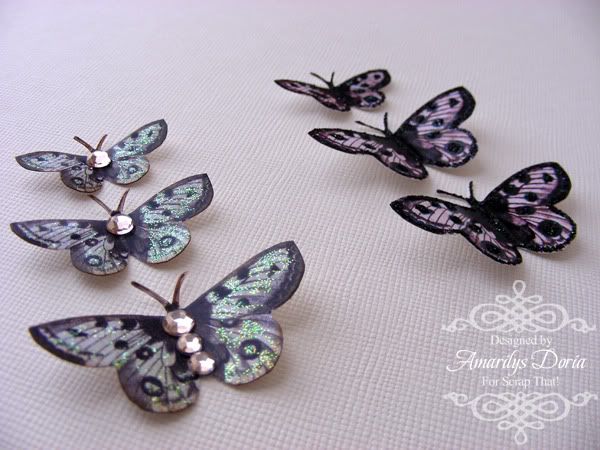
Step 4. Lift the wings a bit and admire your butterflies-they are now done! Use them in your layouts and/or cards. You can also layer them if you want!
I hope that you enjoyed and found this tutorial useful!


Thanks for sharing this!
ReplyDeleteThis is awesome Amy...great idea!
ReplyDeleteThis is just brilliant! I can't wait to try it!!
ReplyDeleteThanks for sharing the great tutorial as well as the gorgeous printables!
ReplyDelete